Step 1
Switch on the PC and press DEL / F2 continuously (depends upon the motherboard brand) to enter inside the SETUP utility of the mother board .(SETUP utility is a firmware installed in the motheboard).After entering inside the SETUP utility press the right arrow and select the BOOT option and change the first Booting Option into CD DRIVE. Then put the installation CD into the CD drive. select Exit menu . save the changes and exit.
Step 2
 Now the system will restart and will boot from CD inside the CD Drive and a black screen will come with a message " Press any key to boot from the CD" and four dots ( . ) will come. Before fourth dot is coming you have press any key in the key board. ( If missed the fourth dot also, then dont worry, just restart the system and the same will ask again) then the SETUP will load and will inspect the system hardware with a screen like below.....
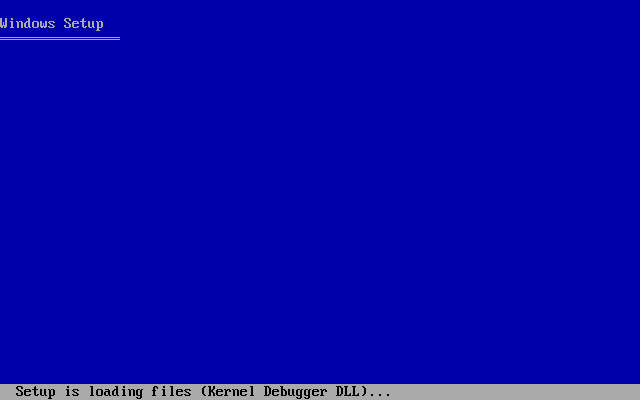
Step 3
In the next step SETUP will load necessary files for the installation of the WINDOWS XP

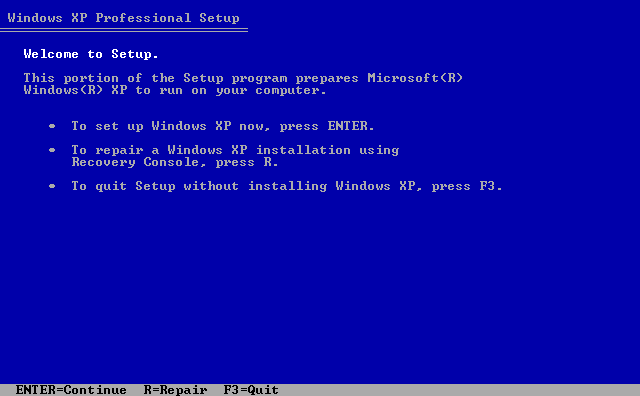 Step 4
In this step , a 'Windows XP Professional Setup' Page will come and will ask for new windows installation setup continuation and or Repairing the older one. Here press ENTER
Step 5
Here windows will ask the License agreement.
Press F8
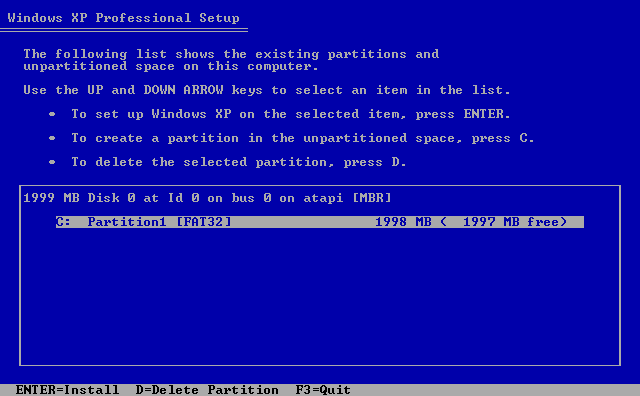
Step 6
In the Windows XP professional setup page, all
the current partition will show. If your Hard disk is new, one partition will show. (If your Hard disk already installed one more partitions will show like C: , D: , E: etc. Then Delete all the partitions by selecting them and pressing D and L as showing in down side of the current window. After deleting all the other partitions, only C: will be there.) here press ENTER for installing the windows in C drive.

Step 7
Now a window will come and ask you for
formatting the selected installation drive. Here
you select the third option by using up/down
arrow.
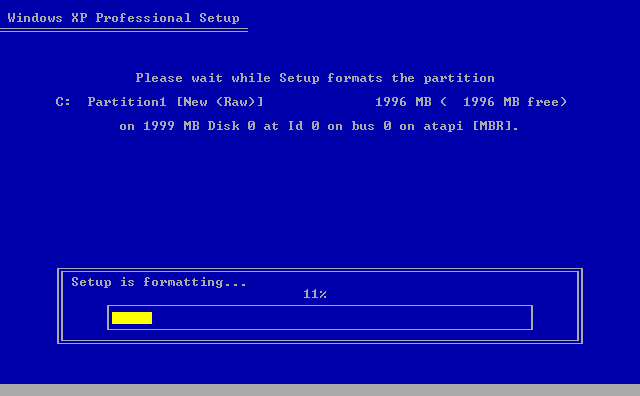
Step 8
Here SETUP will format the drive for the
installation of windows XP
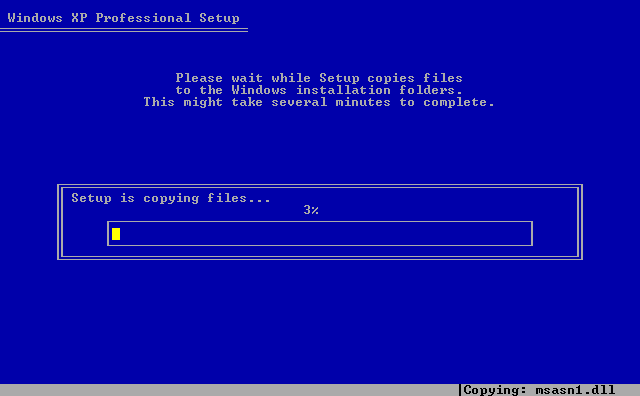
Step 9
After formatting, SETUP will automatically
start to copy file into the Hard disk. It will be
from 0% - 100 %
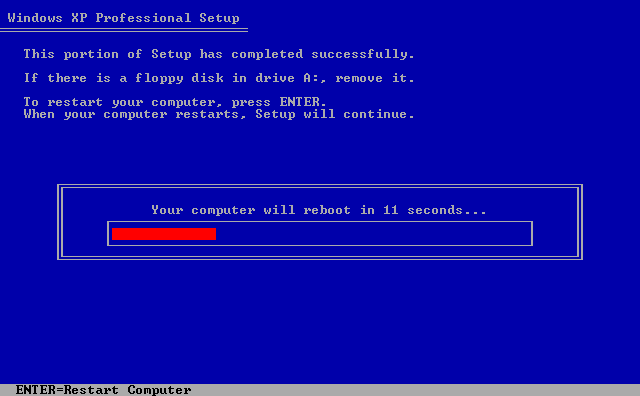
Step 10
After completion of the file copying, the system
will automatically restart

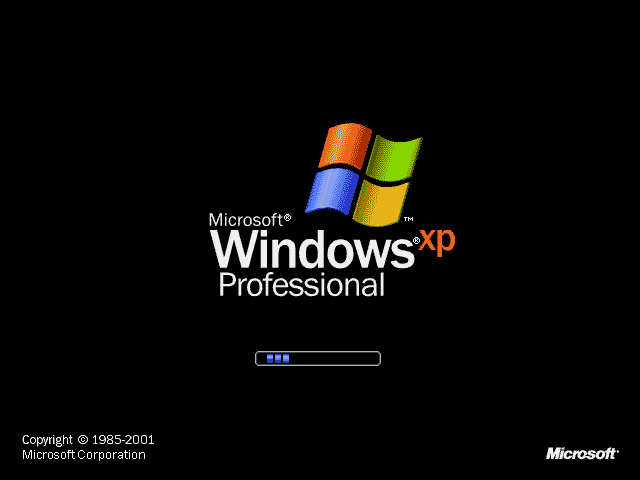
Step 11
Next time when the system is restarting windows will load for the time with windows logo
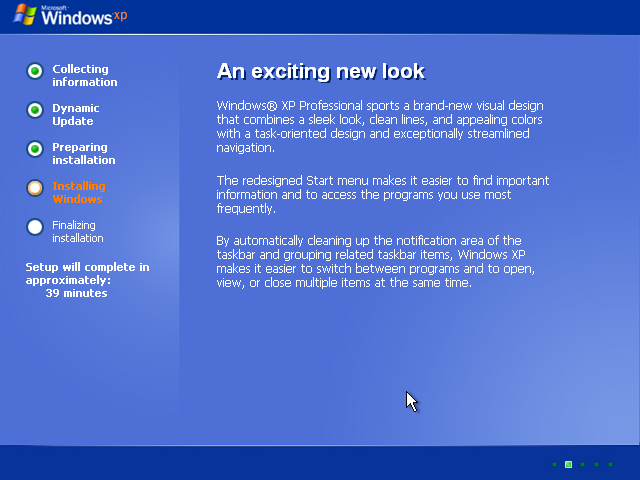
Step 12
Now the SETUP will start installing the features
of windows
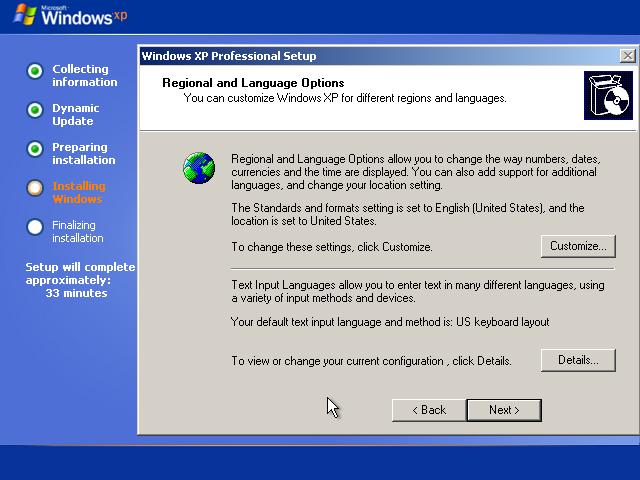
Step13
In this step windows will ask Region and language options.and you have to select the correct options.and press NEXT

Step14
Here windows will ask your name and the name
of your organization.(just type a name and any
organization) and press NEXT

Step 15
Here windows will ask the 25 digit Product key
which you will get along with the windows
installation CD. Enter the product key and press ENTER

Step 16
In this step you just give a name for your
computer (what ever you like). Admin password also will ask. (But no need to enter any
administrative password). Then Press ENTER

Step 17
In this page windows will ask the Date, Time
and Time zone. select the correct date, time and time zone and press ENTER
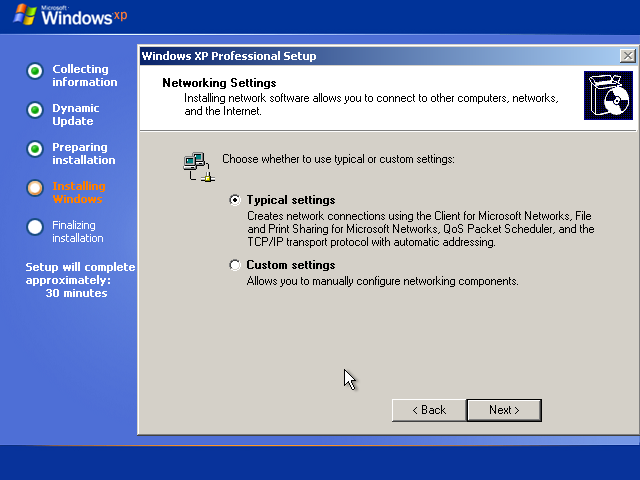
Step 18
In this step windows will install the networking
settings and will ask for the Typical settings
and Custom settings. you just give the tick mark in the Typical settings and press ENTER
(for networking pages default setting is enough,
and press ENTER)
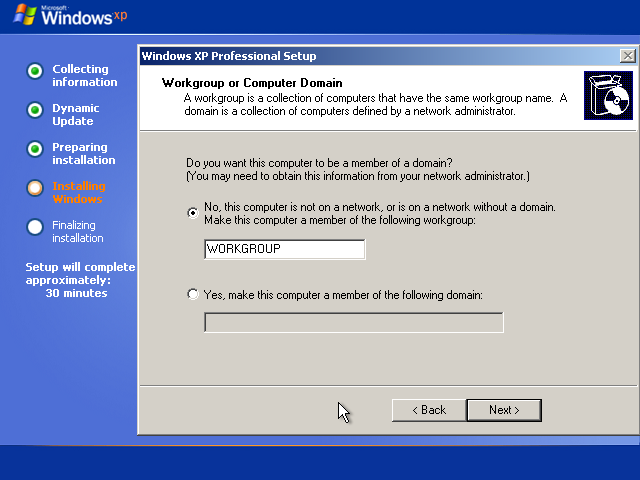
Step 19
In this step windows will ask about
WORKGROUP or DOMAIN. Here also the
default value ie. WORKGROUP option is the
 one to give selection and press ENTER
Step 20 Computer will again restart automatically after
the installation
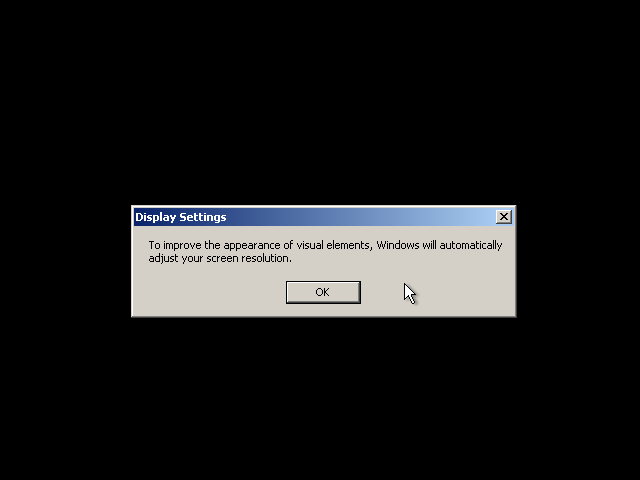
Step 21
after restarting windows will configure the
display setting and monitor settings. just click on OK in both steps

Step 22
Now the windows desk top page will come and
you have finished Wndows XP installation.
*** THANK YOU***